
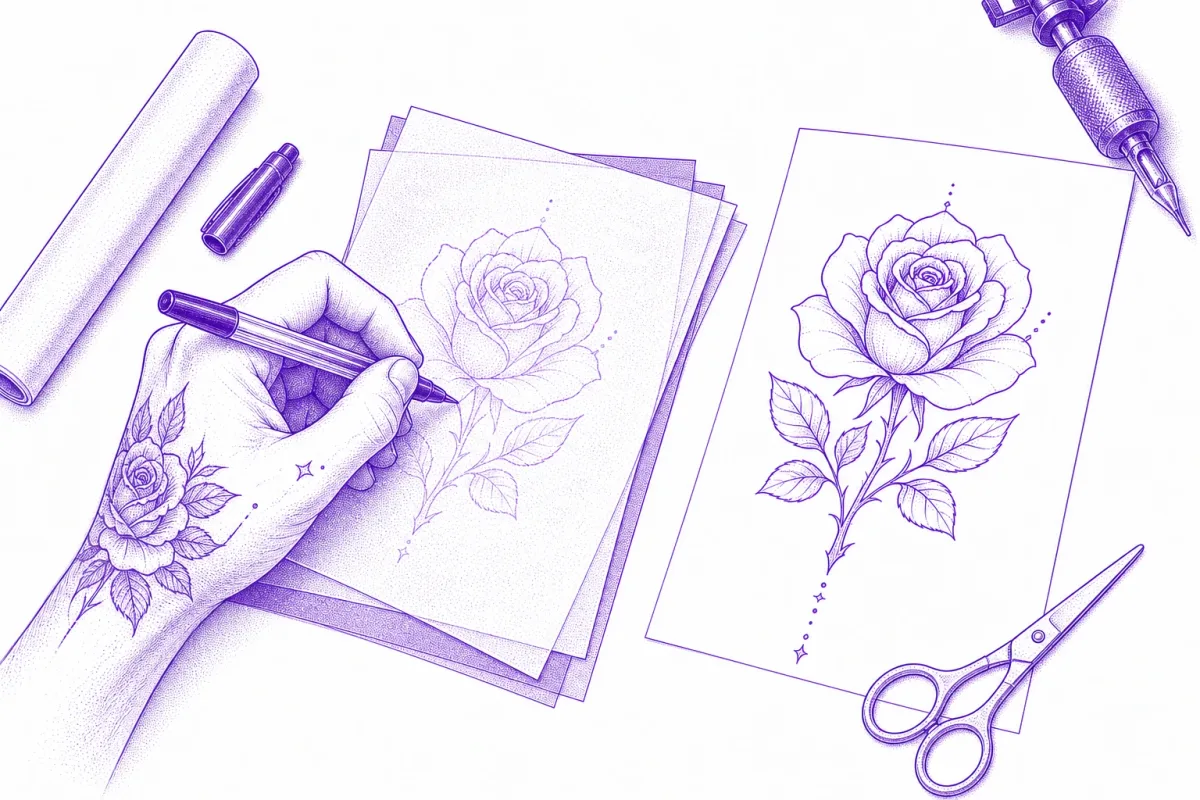
Every clean tattoo starts with a clean stencil. The stencil is the bridge between the design on paper and the design on skin — it locks in proportions, placement, and line flow before a needle ever touches the client. Get it right and the tattoo almost traces itself; get it wrong and you're improvising for the next three hours.
There are three reliable ways to make a tattoo stencil, and most working artists use all of them at different times. Here's each method step by step, plus the line-quality rules that decide whether your stencil survives the transfer.
What a stencil actually needs to do
A stencil is not a finished drawing. It's a map. During the tattoo it will get wiped, stretched, and sweated on, so it needs to carry only what you can't afford to lose:
- Outlines — the contour of every major shape, unbroken and decisive.
- Structural interior lines — where petals overlap, where the jaw meets the neck, where shading changes direction.
- Anchor points — small marks that let you re-align if part of the stencil wipes away mid-session.
Everything else — texture, stippling, soft gradients — lives in the reference image on your screen, not on the skin.
Method 1: Hand tracing with hectograph paper
The classic method, and still the most flexible. Hectograph paper (also called freehand stencil paper) is a four-layer sandwich: a white top sheet, a protective tissue, a carbon-like dye sheet, and a backing. See our transfer paper guide for how the layers work.
- Print or draw your design at final size on regular paper.
- Remove the tissue layer from the hectograph pack.
- Slide your design on top of the white sheet, so the dye sheet faces the back of the white sheet.
- Trace every line you want on skin with firm, even pressure — a ballpoint pen or dedicated stylus works better than a pencil.
- Peel the layers apart: the white sheet now carries your design in transferable dye.
Method 2: Thermal copier or thermal printer
Thermal stencil machines (and dedicated thermal printers) burn your design onto thermal paper automatically — no tracing, perfect fidelity, repeatable. This is the studio standard for detailed work:
- Prepare the design as a high-contrast black-and-white image.
- Print it at true physical size on regular paper (or send it digitally).
- Feed the print and thermal paper through the copier together.
- The machine transfers the design onto the thermal sheet, ready to apply.
The catch: thermal machines reproduce exactly what you feed them. Gray tones, photo textures, and low-contrast lines come out muddy — the design must already be clean line work before it goes in.
Method 3: Digital — design first, stencil automatically
The newest workflow flips the order: instead of simplifying a design into line work by hand, software does it for you. A tattoo stencil maker like Stenstill turns a reference photo into traced line work, or generates an original design from a text description — already high-contrast, already stencil-ready.
The digital path looks like this:
- Generate or convert your design — from a photo or a text idea.
- Adjust detail level so only structural lines remain.
- Export a PDF at exact physical dimensions — true-size printing matters more than anything else here.
- Print, then transfer via thermal copier or hectograph tracing as usual.
Digital doesn't replace the transfer step — it replaces the hours of redrawing and simplifying before it. Browse our stencil design gallery to see what machine-generated line work looks like across styles.
Line-quality rules that survive the transfer
- One line weight minimum. Hairlines vanish. If a line matters, give it enough weight to survive a wipe.
- Close your shapes. Open contours invite misreading once the reference isn't in your hand.
- Simplify clusters. Five overlapping leaves read as mush on skin; three well-chosen ones read as foliage.
- High contrast only. Pure black on pure white. Anything gray is a coin flip at transfer time.
Size it before you print it
A stencil drawn at the wrong size is a redo, not an adjustment. Measure the placement area on the body, decide the design's real-world dimensions in centimeters or inches, and make sure the printed stencil matches exactly — here's how to print true to size without scaling surprises.
Once your stencil is made, the job is only half done — the transfer to skin is where good stencils go to die. Read the transfer guide next to keep yours crisp through a full session.