
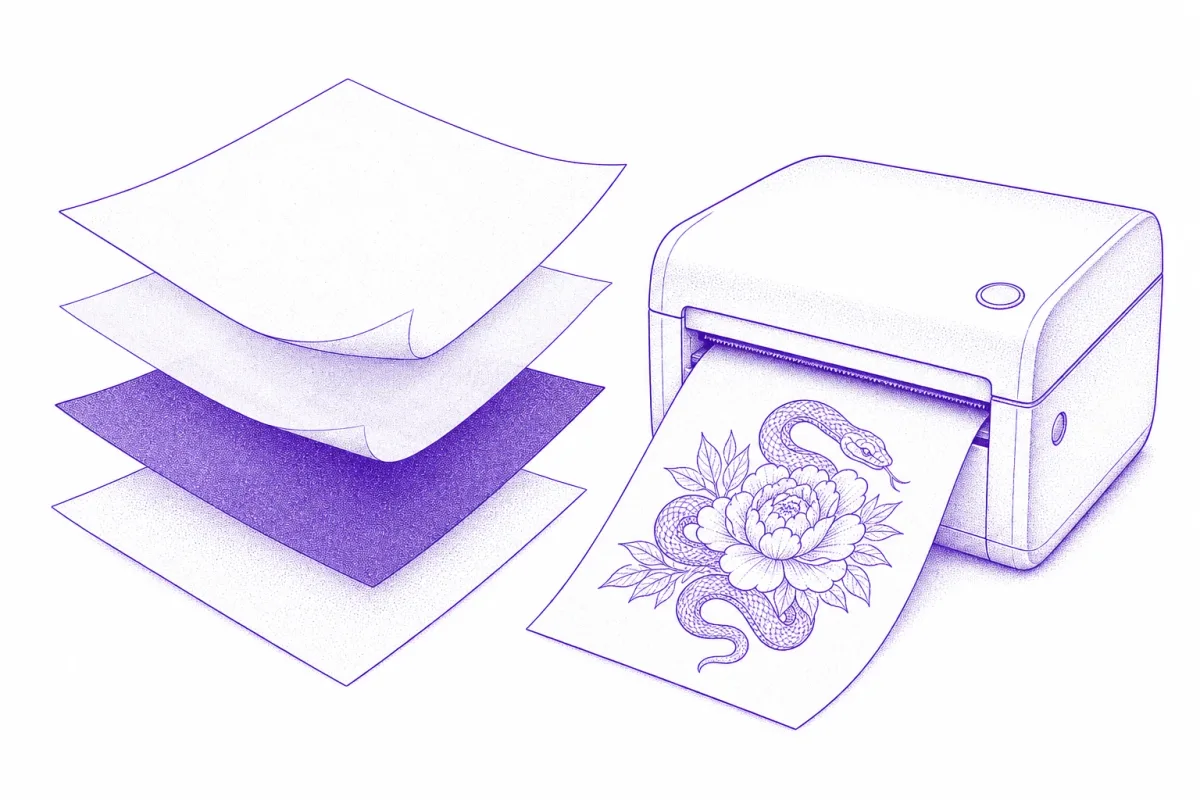
All stencil paper does the same job — moving a design from paper to skin — but the two main types get there very differently, and using the wrong one for your workflow is the fastest way to waste both paper and patience. Here's what each type is, how it works, and when to reach for it.
Hectograph paper (freehand stencil paper)
The traditional option, used for hand tracing. A pack has four layers:
- White top sheet — where your design ends up.
- Tissue guard — protects the dye layer in storage; remove it before tracing.
- Dye sheet — usually purple or blue; this is the "carbon" that deposits onto the top sheet as you trace.
- Backing sheet — keeps everything rigid.
You place your printed design over the top sheet and trace every line with firm pressure. The pressure transfers dye onto the back of the top sheet, producing a mirror-ready stencil you apply with transfer solution — full application steps here.
Best for: artists who like refining lines as they trace, small studios without a thermal machine, and one-off designs where setup speed doesn't matter.
Thermal paper
Thermal paper works with a thermal copier (stencil machine) or a dedicated thermal printer. Instead of hand pressure, a heat element reproduces the design onto the paper's dye layer — every line, exactly as fed in, in seconds.
Best for: detailed or repeated designs, busy studios, and digital workflows where the design is already clean line work — for instance a stencil generated with an AI tattoo generator and printed at true size.
Side by side
| Hectograph | Thermal | |
|---|---|---|
| How it works | Hand pressure transfers dye | Heat element burns the design |
| Equipment | A pen — that's it | Thermal copier or printer |
| Detail fidelity | Depends on your tracing hand | Exact reproduction |
| Speed per stencil | 10–20 minutes | Under a minute |
| Cost | Pennies per sheet | Paper is cheap; the machine isn't |
| Fixing mistakes | Re-trace the line | Fix the source file, re-run |
The mistake to avoid: printing on stencil paper
Neither type goes through an inkjet or laser printer. Stencil paper is thicker than printer paper, the layers separate inside the feed rollers, and even a successful pass deposits printer ink — which does not transfer to skin. The correct chain is always:
- Print the design on regular paper at true physical size.
- Turn that print into a stencil — by hand on hectograph paper, or through a thermal copier onto thermal paper.
How to use tattoo transfer paper
Whichever type you choose, the working sequence is the same four moves:
- Get the design onto the paper — trace it by hand (hectograph) or run it through the machine (thermal).
- Prep the skin — shave, degrease, dry.
- Apply with transfer solution — thin layer, one confident placement, even pressure, slow peel.
- Let it dry fully before any needle touches it.
Steps 2–4 are where most transfers fail — the stencil application guide walks each one in detail.
Which should you buy?
Starting out or tracing occasionally: a pack of hectograph paper and a decent ballpoint cover everything. Doing client work weekly: the thermal machine pays for itself in saved tracing hours within a month or two — and it pairs naturally with digital design tools, since whatever you design or generate prints straight into a finished stencil.