
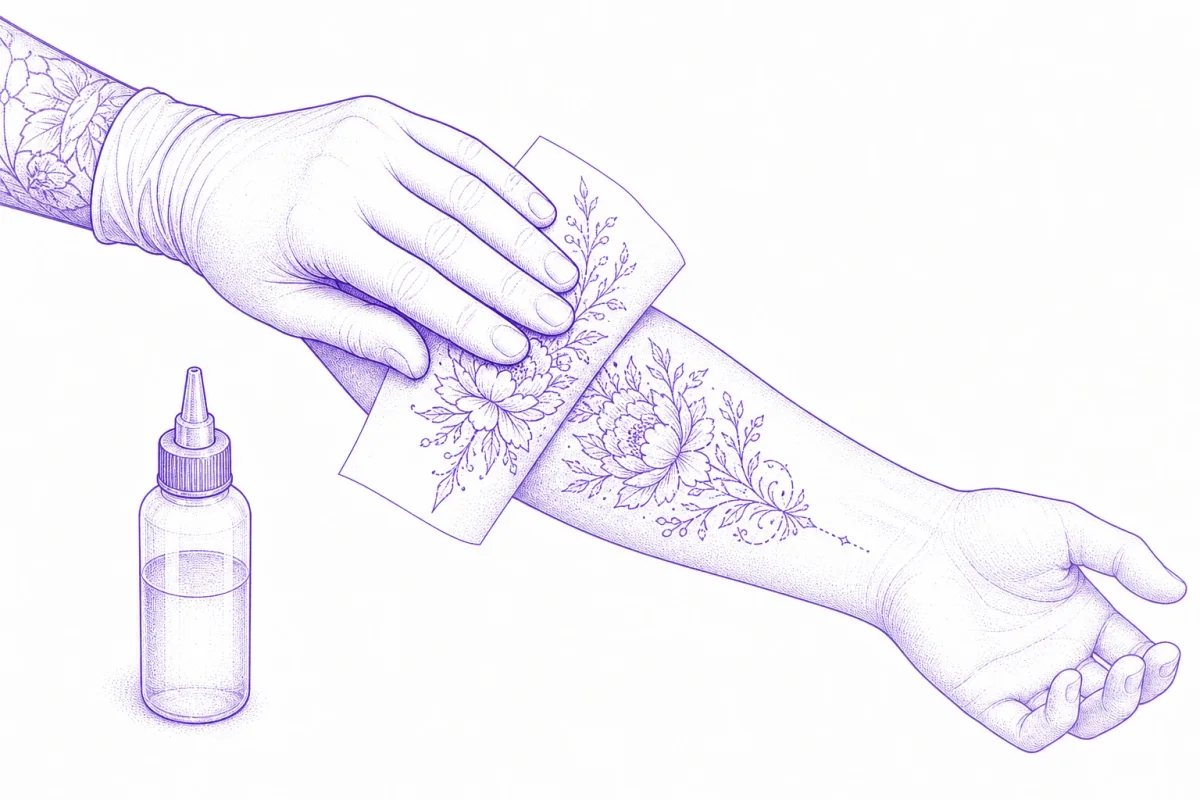
A stencil that took twenty minutes to make can be ruined in the twenty seconds it takes to apply it. Transfers fail in predictable ways — wet skin, rushed drying, heavy hands — and every one of them is avoidable. Here's the process that keeps a stencil crisp from first pass to final wipe.
What you need
- Your finished stencil, on hectograph or thermal paper — if you haven't made it yet, start with how to make a tattoo stencil.
- Stencil transfer solution (Stencil Stuff or similar).
- Disposable razor, green soap or alcohol, paper towels.
- Gloves — transfer prep is part of the sterile chain.
Step 1: Prep the skin
The transfer dye needs bare, clean, dry skin to bond with. Any one of hair, oil, or moisture will break the transfer.
- Shave the area with a fresh disposable razor, even if the hair looks negligible — stubble lifts the stencil off the skin.
- Clean and degrease with green soap or isopropyl alcohol. This removes skin oils that repel the dye.
- Dry completely. Pat with a clean paper towel and give it a moment — damp skin dissolves the stencil on contact.
Step 2: Apply the transfer solution
Spread a thin, even layer of stencil solution over the placement area with a gloved hand. The surface should look satin, not glossy — pooled solution is the number-one cause of blurred transfers. Cover slightly beyond where the stencil will sit so the edges bond as well as the center.
Step 3: Place, press, peel
- Line up before touching down. You get one contact. Check placement against the body's natural lines — with the client standing in a natural posture, not stretched out on the bench.
- Lay the stencil down in one motion, dye side against the skin, from one edge to the other like a screen protector — no repositioning once it touches.
- Press evenly over the whole design with flat fingers for 10–20 seconds. Don't rub — rubbing shifts the paper and doubles the lines.
- Peel slowly from one corner. If a section looks faint, stop peeling, lay it back, and press that area again.
Step 4: Let it dry — properly
This is the step everyone rushes and everyone regrets. Give the transfer at least 10 minutes, ideally 15–20, before any needle or wipe touches it. A well-dried stencil visibly "sets" — the lines look matte and stop tacking to a gloved finger. Many artists apply the stencil first, then set up their machine and inks while it cures.
During the tattoo: keeping it alive
- Blot, don't scrub. Wipe excess ink with light pressure, in one direction, away from unlinked stencil areas.
- Work dark-to-light and in-to-out where possible, so your hand rests on tattooed skin instead of stencil.
- Use your anchor points. If a section fades, the small registration marks you kept in the design let you re-align freehand without guessing.
If it goes wrong
A bad transfer is not a commitment. Wipe the area fully with alcohol, wait a few minutes for the skin to calm, re-apply solution, and use a fresh stencil — this is why printing two copies costs nothing and saves sessions. If your stencils keep printing at the wrong size for the placement area, fix that upstream: print true to size, every time.